Using dynamic images in your pages
Let's say that we need to use images on our page that are based on the contents of a recordset. Maybe I'm an artist and want to show my work on my website. I might allow people to search for a piece by its title, and on the results page I would want to show them a scanned image of my work.
For this tutorial, I'll be using my 'OurSchool' database, which I've adapted to include an image for each student. It's important to note, however, that I've not embedded the images into my database - I've simply created a text field with the file name in it. That's probably the best way to work, as your database would become very large otherwise.
I've created a Results page with a recordset which includes 'StudentNo', 'Forename', 'Surname' and 'StudentImage'. It filters on the StudentNo field, as passed along by a URL parameter from my search page.
I'll start by creating a table and putting some data in
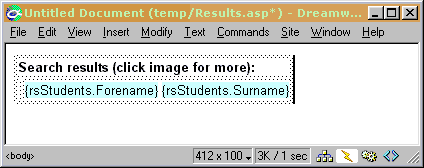
Next I want to insert an image - but not a normal static image, I want this one to come from my data source. We'll start by inserting an image in the normal way.
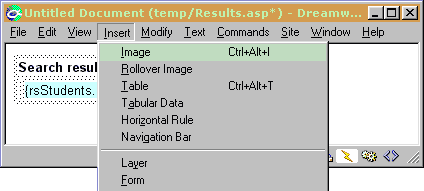
You should see an option at the top of the Insert Image dialogue to select the file name from either the File System (as you might do for a normal, static image) or from a Data Source (which is what we want to do now). Click the Data Source button and you should see your sources listed.
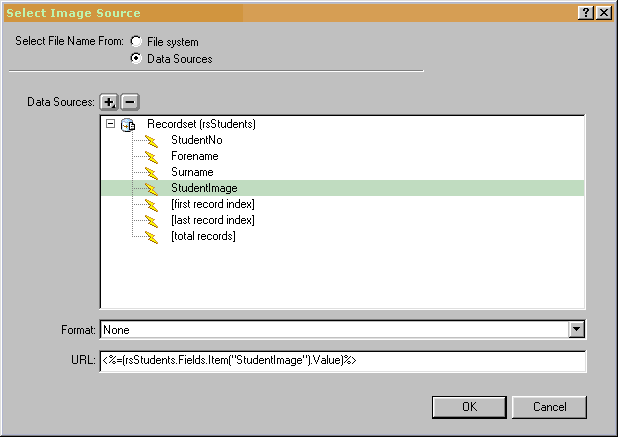
I'm going to select my StudentImage field as the source for this image,
as I know it contains the filename of my image.
I click OK and a place holder (looks like a tree) is inserted into my
page.
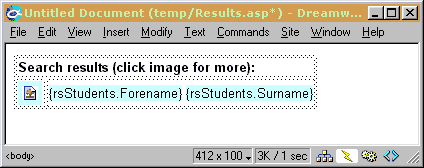
That's the basics of it. However, I'd like to use the image as a link to a details page so I'll select it and apply the Go To Detail Page server behavior.
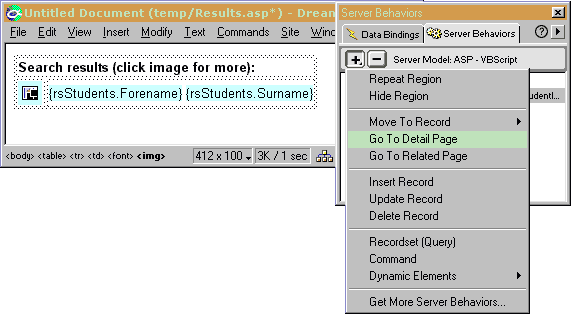
The Go To Detail Page dialogue box lets me enter the filename of the Details page, and lets me choose which parameters I want to pass to it.
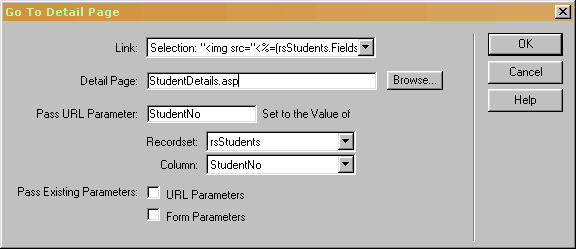
My database uses StudentNo to tie all it's information together, so this is the parameter I'm going to pass to my Details page. Click OK.
You might find that by making your image a link it now has a blue border around it. You can rectify that by selecting the image and giving it a border value of 0 in the Property Inspector.
The next thing to do is to make a Repeat Region and some Previous and Next links as we've covered in earlier tutorials. Once done, my page looks like this
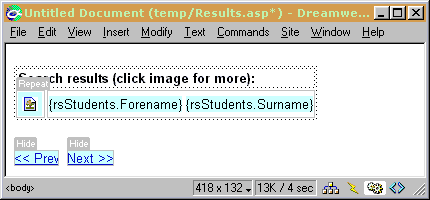
That should be it. We now have a Results page which gets an image from a Data Source, and we have made that image a link to a Details page. It couldn't be easier, and with a bit of imagination, the same process could be applied to any type of media - Flash movies, video clips and so on.
Viewing my page in a browser, it looks like this
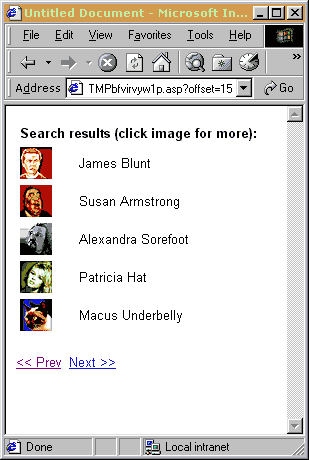
It really is as easy as that!

